Patios are a great backyard landscape that gives us a better view of the outdoor space and a place to relax and hang out. But having an unlevel patio can be frustrating and requires thorough repairs. Leveling your patio is important as it prevents water problems in the future, among other ground issues.
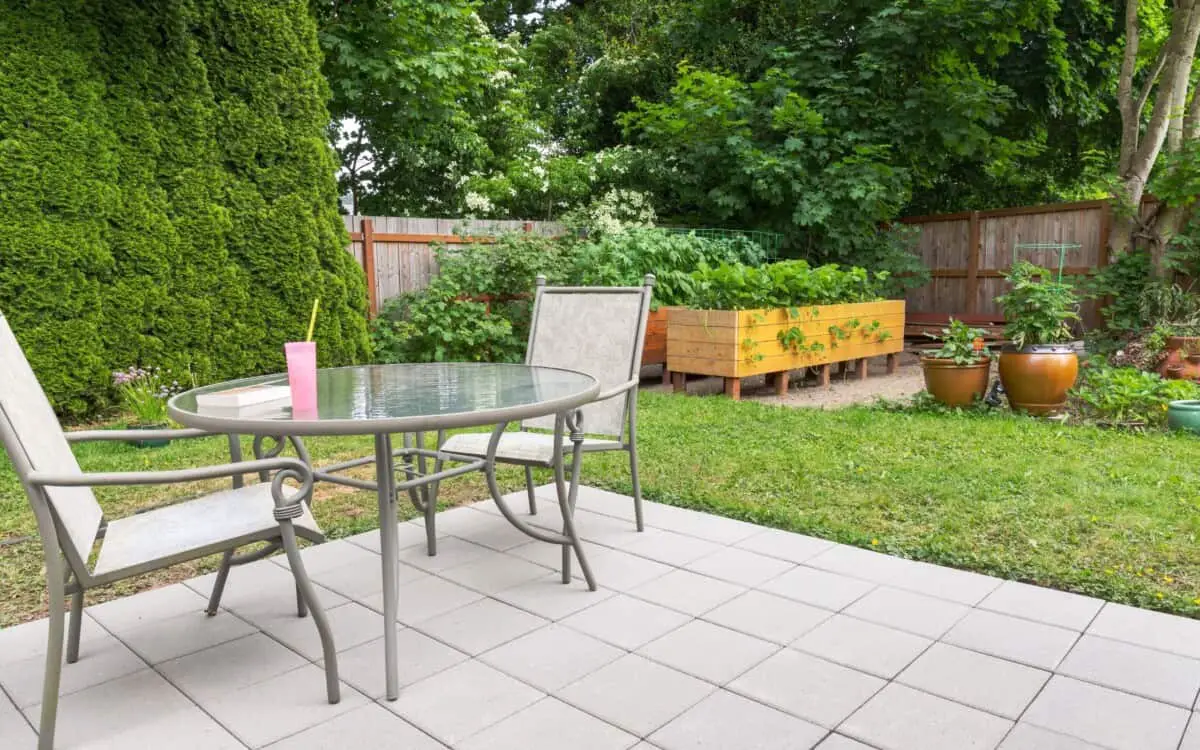
A patio must be leveled between .5” and 1.5” above the grass. This space provides enough height to prevent invasive and creeping grasses from crawling onto your patio. This also prevents dirt from washing during heavy foot traffic and rains.
It is also ideal to have at least a 1-2% slope difference between your patio and the yard. If you have a steep slope in your backyard, you might need to look for a perfect spot that is easy to level.
This article will tackle the proper way of leveling your patio and why it is important. We will also provide the common reasons why you have an uneven patio.
Should a Patio Be Level with the Grass?
Ideally, your patio must be leveled between .5” and 1.5” above the grass. This space provides enough height to prevent invasive and creeping grasses from crawling onto your patio. It also prevents dirt from washing onto your patio during heavy foot traffic and rains. There’s a 1% slope when your lawn goes down 1” for every 100” travel.
However, in some cases, it either isn’t possible, you want a step-up patio, or you just want to install step-ups to your patio to make it look slightly higher. What you are aiming for is visual appeal and structural integrity, and you have to balance these two.
The structural integrity will fade if you don’t have enough materials on the side of the patio. This can create an issue of cracking stones, misalignment, stone rotation, the breaking of the polymeric sand used to hold the stones, and more.
If you want a taller patio, make it sturdy by adding retaining walls or layers of concrete or by making it less than 1” above the earth.
It would be great for the area of your patio to be leveled, although some issues might occur, like the pooling of water. Luckily, this can be avoided if you install an efficient drainage system. Pooling can cause the degradation of the polymeric sand and unwanted blemishes that came from the water and other impurities it carries.
In some instances, it is ideal to have at least a 1-2% slope difference between your patio and yard, as long as it will not affect the appearance of your patio. If you have a steep slope, you might need to look for a perfect spot that is easy to level. Consider adding a retaining wall to keep the patio from sliding away and the ground compacted.
If you are planning to build a patio in your backyard, it is already expected that you will be spending money to buy the materials that you will need. If you want to do this project on a budget, here are the 4 least expensive patio materials that you can use.
What Does “Leveled” Mean for Patios?
Leveling your patio properly means three things. First, you must ensure the area is flat with no raised edges between stones to trip you up. Second, ensure the area is leveled by verifying that all the flags are lined up with each other in the horizontal plane. Third, ensure that the patio’s surface isn’t leveled. This sounds contradictory to the first two meanings but is performed for drainage reasons.
For drainage reasons, you need to have a gradient, known as “fall,” from one end of the patio to another. Usually, the slope should go away from the house so the water will not pool in the patio and prevent damp issues. To know where to make a fall that isn’t leveled, you need to locate where the level is.
How to Correctly Level Your Patio
To achieve your dream patio, you must adhere to the proper leveling of the ground. Proper ground leveling affects the planning of your patio. Here’s how to level your patio correctly.
Start Leveling from the House
Once you’ve excavated the patio and the edges are marked with stakes, pick a level on the wall of the house that is below your damp-proof course. But, make sure it isn’t that low as to make any big step coming out the house. A damp-proof course is a protected area that prevents water from entering the walls of your house.
If the area has a steep slope, especially if it slopes toward your house, you have to be creative and think of a probable solution. Otherwise, decking would be the ideal option for a patio.
Calculate the Patio Fall
After the leveling from the house step, it’s time to calculate the fall that will draw water away from the house. Ideally, use the industry-standard ratio of 1:80, meaning that in every 80 units of distance along with the patio, the level must drop by one unit. For example, if you have a patio shaped in a rectangle that is 6 meters wide and runs 4 meters from your house, the level will have to drop by 4m divided by 80, which is 5cm.
Now, you know that the patio has to drop by 5cm between the house and the end of the patio in a straight form. To measure this, transfer the level from the house to the 4m sign. This can be acquired by getting the longest straight edge piece of timber and linking the spirit level to it.
Set the end near the house on a pile of sand and a brick, then do the same for the far end, tamping the brick down on the sand until the timber is leveled.
Taking the Level Out
The nearest stake can be marked with a level and the 5cm drop. Do this procedure along the wall of your house and link the marks on the pegs with timber boards or string, making edging boards tamped down into the earth. Use the markers as a guide when you’re laying the top surface of the patio, with straight edges to ensure the slabs are aligned in inappropriate directions.
This simple method should deliver the goods for the average backyard patio and doesn’t require special equipment. With proper care, it should be enough to ensure the smoothness of the surface without dips and puddles that will not trip the unwary.
Use a Laser Level
If you have money to spend on quality equipment, a laser level is the ultimate tool for measuring the patio’s levels right. Some stand-alone models can do an accurate leveling at an inexpensive price. Some models can be attached to your tablet, computer, or smartphone for they use a GPS to get the job done.
Some expensive laser levels can also read out on how far out to level your surface is and can automatically carry out all the calculations for you. Either way, you must do some research before purchasing the leveling equipment that would work best for your project.
Not all laser levels can make adjustments for the slope of an area. Also, keep in mind, if you’re planning on digging large holes or building stone walls and working out on the surface level, that using a laser level can cost you more time than using the string and stake method.
Gravel patios are attractive options for your yard. The features of gravel help give the ground a natural look in its surroundings. That being said, how deep should a gravel patio be? Read our article to find out.
Common Reasons Why Your Patio Isn’t Leveled
Unleveled issues will not occur if you’ve made sure that your patio’s area is leveled before installing the pavers. If you have encountered minor problems of unleveled areas around your patio, they can be resolved easily. However, before fixing the issue, you must figure out what is causing the ground to be unleveled. Here are common reasons for this issue:
Gaps in the Patio Pavers
Keep an eye out for small gaps in between your pavers for these can lead to bigger issues. Gaps can be an eyesore and would make your patio unleveled. Edging issues, a faulty base, and a lack of compaction are some of the reasons for the gaps in your pavers. To solve this problem, figure out the source of it, and then, take the next course of action.
Poor Drainage Around the Patio
Poor drainage around your patio can cause it to be unleveled. Water should move easily across or by your patio. A bigger problem can also occur due to poor drainage. To keep water from pooling up on the pavers, ensure that the pavers are higher than the ground surface around your patio. Installing retaining walls or changing the grade around the patio helps redirect the water, keeping it away from the pavers.
Uncompacted Base of the Patio
If the base or ground in your patio isn’t well compacted during the construction process, it can result in pothole-like or dips areas. Not filling in and compacting the soil properly before laying the pavers can cause settling issues.
This is common if you had to dig up and remove a tree or fix something underground before the pavers’ installation. To repair this, remove the pavers and add a gravel base. Then, put the pavers back after leveling and compacting the ground.
Wrong or Inexistent Paver Edging
Another reason why you have an unleveled patio could be that you didn’t use the right paver edging or used none at all. Without the edging to hold your patio, the pavers can shift and deform over time. A visible sign of this issue is the pavers on the edge of your patio are slipping away from the group.
Having solid edging is one way to keep the pavers in place. The pavers must also be several inches beyond the edges of the pavers. In this way, the edging is going into the base and not through the soil or sand. Once you’ve settled the edging where you wanted it, support it with metal spikes to hold it in place.
The Patio Area Was Never Leveled
You can’t expect your patio to be leveled if the ground was never leveled properly. Untouched and unlevel areas may cause issues in your patio and pavers over time. Removing the grass and excavating the space isn’t enough to prepare the area for the pavers. Making sure that the space around the patio is level goes a long way.
To know if the ground around your patio is unleveled, simply put stakes on the ground and connect them using a string. Then, put a level on the string to check if it’s leveled, and adjust the string as needed. You can start excavating the ground and add a base once you’ve leveled the strings. Always make sure that the base is in line with the strings.
Installing a patio isn’t a project that can be complete in one day. It takes time, effort, materials, and money. Leveling your patio must be done by an expert who has experience in the matter. The money involved in your project shouldn’t be the determining factor if you want to achieve your dream patio.
If you’re planning a basic patio project with one or two stepping stones or a slightly raised edge, you have to go for the laser level option for it can give you the exact and accurate measurements, which can considerably speed up the work process.
Conclusion
There are a lot of things that go into building a patio, one of which is making sure that your structure is leveled. Before starting your project, you must inspect the area and know if it’s even. By doing this, you will be saving yourself time, effort, and money. Planning and preparing is a combo that you shouldn’t neglect when doing a long-term project in your backyard.
An unlevelled patio can lead to a couple of problems if not addressed immediately. For your house to be protected from structural damage and for your patio to be beautiful, follow the easy instructions we’ve discussed above to ensure quality results. Also, keep in mind the methods and consequences of incorrectly leveling your ground for your patio. By doing these steps, you are already one step closer to building the patio of your dreams.