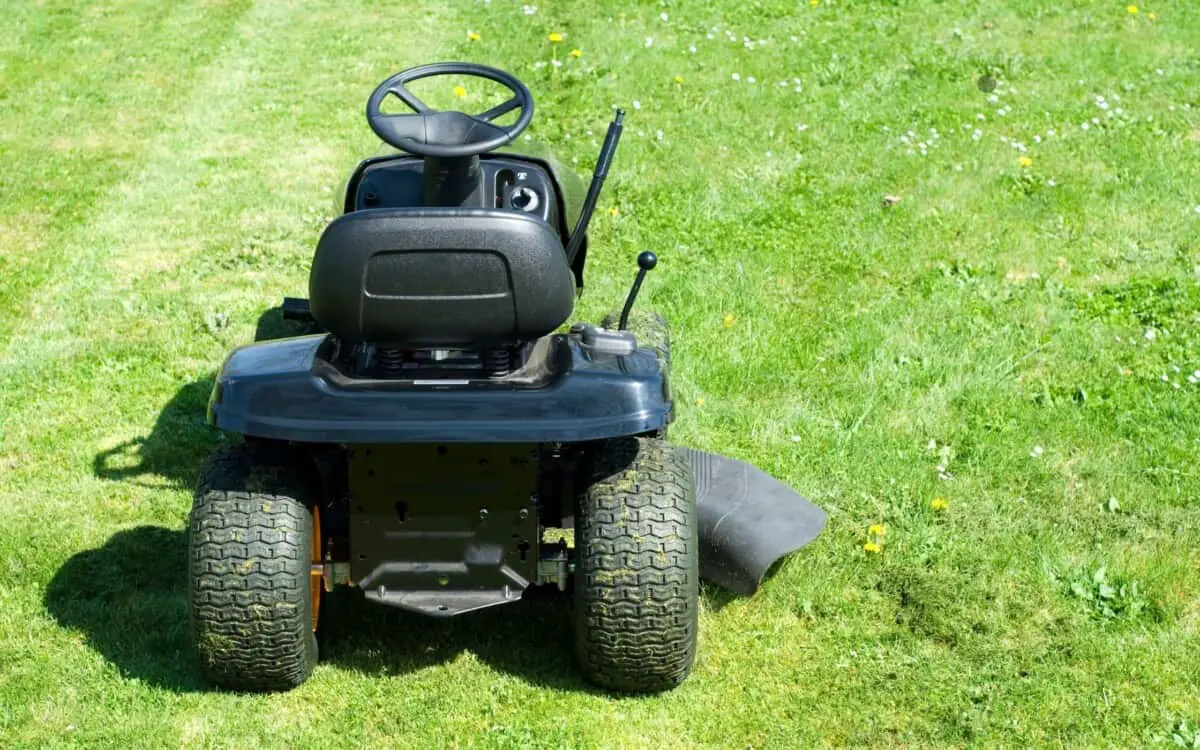
Riding mowers simplify work, enabling you to cover large tracks. They require minimal effort to operate, unlike other types of mowers that require lots of energy to push around. These mowers also come with comfortable seats, like cars, making them enjoyable to drive around your yard. However, they develop complex problems that may interfere with their mobility. So, what is the reason for this?
Your riding lawn mower may not move due to various reasons, ranging from transmission failure to damaged or clogged filters, damaged drive belts, or stuck brake pads. You can always perform a DIY repair on most of these issues. However, some issues, like drive belt problems, may need to be handled by experts.
The following article discusses the various reasons why your riding lawn mower may not move and what you can do to restore it.
Reasons Why Your Riding Lawn Mowers May Not Move
Your lawnmower may decline to move forward, backward, or stay neutral due to the following reasons.
Transmission Failure
You won’t be able to shift your gears if your lawnmower has transmission problems, meaning that you will be unable to move it in any direction. Transmission failures can result from the mower getting stuck in a single gear or from a leak in the fluid reservoir and other transmission lines.
Clogged or Damaged Filters
After some time, debris and other items might accumulate in the air and fuel filters, causing them to clog and limit your mower’s performance. In addition, blocked filters can prevent gasoline from getting to the engines in the required capacity.
As a result, the engine won’t have enough power to drive the mower. Failure to address this issue in time may permanently damage your engine.
Dead or Failing Battery
Your mower will not start with a dead battery. However, it may start on a weak or failing battery, although it won’t have enough power to drive the machine. Sometimes, it may even only move for a short distance before shutting down.
Carburetor Issues
For mowers using carburetors, damages to the components may affect the gasoline and air mixers. As a result, the system may stall out and damage the engine as you try to move the machine.
Rusted, Worn Out, or Damaged Components
Riding lawn mowers require constant maintenance and cleaning. Unfortunately, most owners do not treat this issue with the seriousness it deserves. Although, with time and continuous usage, grads, soil particles, and other debris accumulate on every surface. This brings about moisture to metal parts, like brake pads, which causes rust and corrosion. When your brake pads give in to rust, it isn’t easy to move your mower in neutral.
Besides, the dirt and debris can slide to the wheel and prevent them from rotating, meaning that your mower won’t move.
Worn out or Damaged Drive Belts
The drive belt connects the mower’s crankshaft to the wheels. If it gets damaged, worn out, or cracked, your machine will not move in neutral. The issue is always technical, requiring the removal of the cutting deck, battery, and housing before you can access and replace the belt. It always requires some technical skills, and we do not recommend doing this yourself. Instead, it would be best to consult a technician.
How to Fix Your Riding Mower When It Won’t Move
Here are some procedures you may follow to fix the aforementioned problems.
Battery Problem
A riding lawn mower runs on a four-cycle engine beginning with intake and proceeding with compression, combustion, and exhaust. While diesel-driven mowers do not require spark plugs, gasoline-driven riding mowers do in order to combust the fuel. However, the engine does everything from running the transmission in both cases to driving the wheels, rotating, and cutting the blades below the machine.
Like automobiles, these riding lawn mowers use starter motors, ignition switches, and batteries. When you turn on the ignition, you trigger a 12-volt direct current that travels from the battery to the starter motor via the starter solenoid. The same current also goes to the anti-afterfire solenoid through the cables.
When you turn the run button, the current changes its course. Instead of traveling to the starter and motor, it goes to the anti-afterfire solenoid and alternator. The two parts charge the battery and ignite the auxiliary power sources, such as power plugs and headlights.
You will hear a click sound from a perfectly functional riding mower when the system shifts from Run to Start. When that occurs, it means the starter solenoid is getting enough power. On the other hand, the absence of this click signifies a failed starter or means that the coil may not be receiving enough energy from the battery.
Solving Battery Problems
Battery problems are some of the most common reasons why you want to hear this click sound from the engine. Its absence means your machine won’t move because the battery is not fully functional or is completely dead. There are two kinds of battery problems, a corroded battery or a drained one.
You can always use the battery with a multimeter. First, turn off the mower ignition system before you try to get to the battery. Then, set your multimeter to DC voltage and put the red probe on the positive terminal, and the other probe on the negative terminal.
The battery is good if your multimeter reads anything above 12 volts. However, it is dead or weak if you get a reading below 12 volts.
You can recharge a weak or drained battery if it is relatively weak. If this doesn’t help, you have no option but to replace it.
How to Recharge Your Battery
To recharge a weak or drained battery, follow the steps below:
- Access the battery, usually located underneath the driver’s seat.
- Connect the charger clip to the battery. The red pin should go to the positive terminal, while the black clip goes to the negative terminal.
- Plug the charger into a power outlet. Your power outlet should operate on a minimum of 10 volts to recharge the battery. However, sometimes, you may need a 12-volt charger depending on the capacity needs.
- Give it some time to recharge, then reconnect the battery to your mower the way it was. Then, put the driver’s seat back into place and continue trimming your grass.
- If it doesn’t work, buy a new battery for your riding lawn mower.
Transmission Failure
A riding lawn mower with transmission issues will start but won’t move because the mower’s transmission is responsible for alternating the forward and backward gears. Explained below is how you can check if your lawnmower won’t move due to transmission problems.
Check the Transmission Fluid Levels
Most mower transmission systems require an occasional fluid touch-up to prevent the transmission from slipping out of the gear. We advise you to fix any leakage in the reservoir or on the transmission lines. In most cases, the issue may result from a failed transmission part.
Check for Out of Place, Broken, or Worn Out Transmission Parts
Transmission parts are prone to wear and tear caused by continuous work. After some time, those lead to faulty system components, which may jam the mower in a single gear (mostly neutral). The best solution to this problem is to replace the worn-out parts.
Check the Clutch
The problem may also come from another source than the transmission system. For example, the clutch might be pushing the transmission out of whack. You can repair most clutch malfunctions by replacing the faulty parts, recalibrating some malfunctioning components, and lubricating the system.
If your mower still doesn’t move after checking and repairing all these things, we recommend you try elsewhere or take your lawn mower to an expert.
Clogged or Damaged Filters
The mower’s airflow plays an essential role in moving the machine. It regulates the temperature of the engine and prevents it from shutting as a result of overheating. Unfortunately, the quality of airflow gets poorer with time, as debris and dust accumulate, eventually blocking the filters. If left as is for too long, this problem may cause the engine to fail and cost you lots of money in repairs. Here is how you can fix it.
Check the Fuel Filters
Fuel filters are the busiest components, so they are at a higher risk. They often get blocked by grass, mud, and grit. Thus, it is best to check for blockages, then gently clear them. Doing so will help pass the amount of fuel the mower needs to propel itself across the lawn.
Check the Air Filters for Clogs
Clogs in the air filter may mean more severe issues than you think. Indeed, these can cause the collapse of the engine if left unattended. Thus, the best solution is to replace your filters.
Apart from clogs, your air filter may also give up to prolonged wear and tear. Damaged air filters will cause your engine to muck up with particles, leading to it failing. Therefore, it is best to change your air filters as often as possible.
Repairing the Braking System
When the brakes become faulty, keeping your mower immobile on neutral, you might have to replace the pads. The location of these pads depends on the model of your lawn mower. It would be wise to refer to your user manual if you are unsure about their location.
What You Need
- A floor jack
- A socket wrench set
- Needle-nose pliers
- Work gloves
Step One: Remove the Back Left Wheel
A lawn mower moves on a single brake pad, so only removing the rear left wheel is enough to access it. To do so, you may need to jack your machine and free the wheel. Ensure that the jack rests on the chassis and not on any other component.
After that, remove the caps, and use the needle-nose pliers to remove the front pins. Then, remove the tire, but be careful not to misplace the minor square key sitting on the axle.
Step Two: Remove the Brake Assembly and Pucks
The brake assembly is usually located next to the wheel, held in place by mounting bolts. Use a socket wrench to remove the bolts, then remove the sections. You do not have to remove the spring holding the assembly unless you notice something wrong with it.
After removing the assembly, access the two pucks on either side of the rotor. You will have to remove the first one, then pop the rotor out before you can access the second puck. If they show any deformation or rust, you will have to replace them.
Step Three: Put in New Pucks and Reinstall the Assembly
Make sure you have the right pucks for your specific mower. Otherwise, it won’t fit. Then, position the first puck, replace the rotor, and position the second puck. Make sure that you install everything appropriately, then reinstall the assembly as you got it.
After that, reposition the tire and fasten it. You can adjust the brake tension by adjusting the bolt in your brake assembly.
Repairing Stuck Wheel
Your wheels may also decline to spin, either because of rusted, damaged parts or for other reasons. When this happens, your mower won’t move, even if you engage the gears.
To resolve this issue, lift the machine on a floor jack to free the stuck wheel. After that, remove the caps, then use the needle-nose pliers to remove the front pins.
Next, remove the tire, while being careful not to misplace the small square key sitting on the axle.
You may need to use penetration oil to lubricate and loosen the tire to enable you to slip it off. It would also be best to allow the oil to sit there for a few minutes or hours, depending on the nature of your problem.
Using a rubber mallet, gently hit the wheel to loosen the wheel. Although, do not hit it hard, as it may damage the axle and add to your problems.
Once the wheel is off, assess the damaged, rusted parts and replace them accordingly. You might need to replace an entire wheel or two to restore the mower’s mobility on the extreme side.
During this process, you will notice that the rust is not as significant or that the debris locking the wheel is not as big as you expected. In such instances, you only need to get rid of the debris, clean the dust, and lubricate the moving parts.
Some of the above processes are easy and can be undertaken by yourself. However, we recommend you seek professional help if in doubt.