Constructing your own sandbox could be a great project to prevent your kids from using gadgets and enjoy spending time outside. With a sandbox, you can send them out to play into the yard to simply shove sand, build a sandcastle, or play.
To construct a sandbox, start by choosing its design, size, and location. Lay out and cut the parts, then start assembling them until your frame is done. Next, put your landscaping bottom and fit it in the area. Fill the frame with sand afterward. Finally, cover the sandbox when not in use.
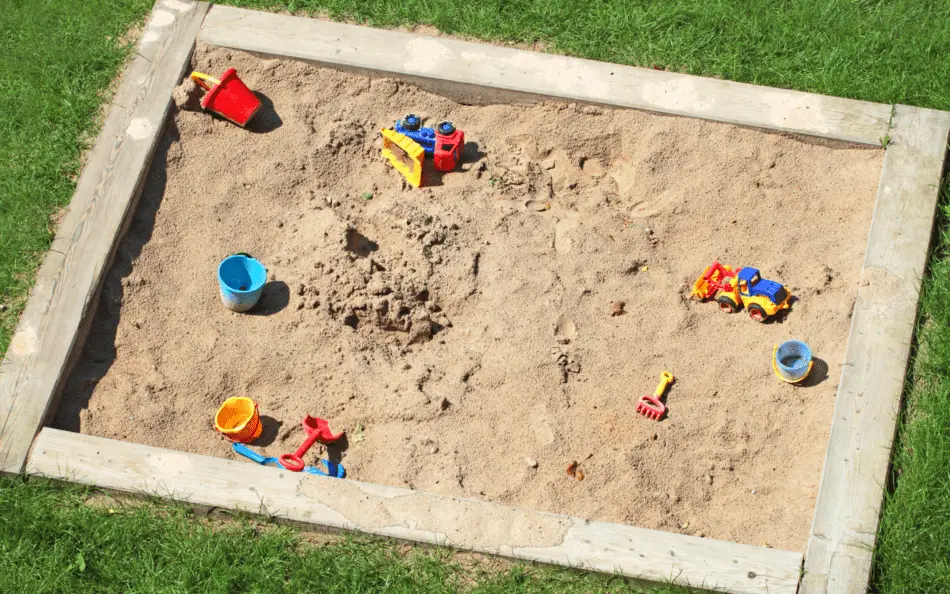
Ask your kids to help with some light labor while building the DIY sandbox to keep them occupied. They will surely love it! A sandbox brings a touch of the beach to your backyard, and playtime is even more enjoyable when the box is built creatively.
How Deep Should a Sandbox Be?
The bigger and taller your walls, the more sand you’ll need to fill the sandbox with. Also, the deeper the children can dig, the more fun they will have. That’s why most sandboxes are about 30 to 40 cm deep.
Be careful not to lay the sandbox too deep to avoid accidents and collapses. Always make sure to call a professional first to ensure that it is safe to dig in a particular area.
Choosing a Wood for Your Sandbox
There are several types of wood that you can use to build a sandbox. You just have to keep in mind that they need to be sturdy, resistant to the elements, and safe for children.
For good service, a sandbox should be resistant to rot, warp, and splinters.
Also, never use chemically-treated wood for sandboxes because the chemicals may be harmful to children. Instead, you should seal the wood with an environmentally-safe sealant to add years to the wood’s lifespan.
Natural Resistance
Redwood, cypress, and cedar are naturally resistant to rot and termites. Redwood is softwood, so you should pre-drill nail holes to avoid splitting the wood. Redwood ages to a silver-gray color. Meanwhile, cypress tends to warp when not properly dried.
Bracing will help your cypress sandbox maintain its shape. Cedar is cheaper than redwood and cypress, and is appropriate for sandboxes, although it is much weaker than the other two types of woods. In the corners, bracing is recommended.
Heartwood
The chemical composition of rot-resistant wood is concentrated in the heart of the wood. For this reason, woodcut from the heart, or center of the tree, has greater resistance to deterioration from decay or insect infestation.
Besides, heartwood tends to be darker in color than sapwood. Heartwood also comes in different grades, sometimes called “B heart” or “construction heart.” These grades are acceptable for sandbox construction and are not as costly as premium-grade heartwood.
Ironwood
Ipe ironwood is a tropical wood that is highly valued for its strength and its resistance to weather, rot, warping, and checking. As sandbox lumber, Ipe’s resistance to splintering is a strong asset. Although, the main disadvantage of this wood is the impact of harvesting such wood on the tropical ecology.
Local Wood
Several species of wood are available at specific locations. These woods are not carried by major building suppliers but may be available in local sawmills. Osage orange, white oak, and black locust are good choices for sandboxes, for instance.
Also, black locust is a superior wood, comparable to tropical hardwoods in terms of durability. Black locust is indeed extremely hard and must have pre-drilled nail holes. Osage orange’s properties are similar to that of black locust with a tight, water-resistant grain. Finally, white oak heartwood is rot-resistant and impervious to liquids.
Sandboxes make one of the most enjoyable activities for children. Playing in a sandbox helps develop kids’ sensory, motor, cognitive, social, and emotional skills, which are fundamental to their growth. If you are building one in your backyard for your kids to enjoy, you need to know about the best sands for sandboxes.
Materials and Tools
You can make a simple backyard sandbox with colorful stripes, benches, holes to drip sand into, a beach umbrella stand, and lots of sand.
To create a sandbox, you need the following materials and tools :
- Two 1’ x 2” pressure-treated pine boards in 10′ to 12’ lengths
- Circular or table saw
- Power drill
- Hammer
- Nails and/or screws
- PVC pipe (to accommodate a beach umbrella for shade).
- Exterior paint (any color of your choice!)
- Shovel for digging
- Tamper (a tool used to compact a soil surface)
- Prefabricated interlocking wall blocks
- Sand
8 Steps to Construct a Sandbox
Building a sandbox on your own is easier than what you initially thought. Here are the 8 steps that you need to follow in order for you to be able to construct your very own sandbox.
Step 1. Choose a location for your sandbox
It’s important to keep a few basic things in mind when planning where to put your sandbox. The location is going to be one of the more important things to pick before you start.
- Shade. Your kids will want to spend hours in the sandbox, so make sure it’s protected from the sun’s harmful UV rays. Your sandbox can be located near the house or under a tree’s shade. You can also use a portable patio umbrella, which presents the advantage of being able to be moved where needed to provide maximum shade at all times.
- Sight. Make sure your sandbox is easily within your sight so that you can keep an eye on your children.
- Drainage. After a summer shower, you’ll want to make sure your sandbox can drain naturally, so build it at a higher elevation if possible rather than in a low spot in your yard. Try to build it so that there will be a slight slope. This will help with drainage.
Step 2. Choose the sandbox’s size
The size of your sandbox depends on your needs, as well as the surface available. Once you have decided on a size, clear the area you plan to build the sandbox in, and dig a hole a few inches deep over the area (this will help stabilize the sides of the sandbox).
Step 3. Build the sandbox’s frame
Now, it’s time to build your frame. You can either choose to build a square or a rectangular frame, depending on your needs. 2×6-inch boards offer good support and are a bit taller than 2×4-inch boards.
The boards should fit together so that the end of one board is perpendicular to the end of another. Also, you should be able to secure the frame with two or three nails driven through the end of one 2×6-inch board into the end of another 2×6-inch board.
- Use a saw to cut four board lengths to serve as the sandbox sides — two 7’ long, and two other 6’ long. Simply butt the ends together to create a rectangle and secure them with either nails or screws.
- If you are adding a floor, cut pieces to size, and nail or screw them onto the bottom of the frame to make sure the floor remains a square.
- Although the benches are mainly for sitting and relaxing, they also add support to the sandbox corners. Use the leftover pieces of wood and mark and measure them. Then, cut the angled pieces with a saw, sand if necessary, and secure them onto the frame. You can also drill holes in the benches for water run-off and as an added playing feature.
- Add a short piece of PVC pipe in the corners for a simple beach umbrella stand. To secure, drill a hole in the bottom of the sandbox so that it sits nice and snug between the bench and the corner of the frame. Then, place a beach umbrella right into the pipe, and you have a shady spot whenever needed!
- Before painting the sandbox, elevate it off the ground for a clean paint job. Use a primer, and paint the inside and outside with durable, weather-resistant paint, like Behr Ultra exterior in satin or gloss finish.
- To paint stripes, like those shown on top, simply use painter’s tape to mark equal bands of color and work in sequences, allowing each coat to dry thoroughly before tackling the next color band.
Step 4. Attach Landscaping Fabric
Once your frame is complete, attach landscaping fabric to the bottom of it using a staple gun. The fabric should not be pulled too tight against the frame as the weight of the sand and children will cause it to tear if there is not enough give.
Some suggest using plastic as the bottom for a sandbox. However, a sandbox can quickly turn into a mud hole when the plastic bottom traps water inside. The use of landscaping fabric allows water to escape while still keeping the sand from washing away.
Step 5. Fit the frame in the sandbox’s location
Turn over your frame so that the landscaping fabric is now on the bottom, and fit the frame into your cleared area.
Step 6. Fill the sandbox with sand
Fill your frame with sand. You can buy some at any home improvement store. If you are receiving sand from another source, always research where it is coming from as you want to make sure you are not importing pests, plant/animal/human diseases, or unsafe chemicals into your children’s play area and the rest of your yard.
Step 7. How much play sand do you need?
If your sandbox is 4 feet x 4 feet, to fill a 10-inch high surround adequately, you’ll need half of a cubic yard of play sand (or a little over half a ton).
To determine how much play sand to get, measure your contained area (depth x width x length in feet). Then, divide this number by 27, and you’ll know how many cubic yards are required. Confirm it’s correct with your sand supplier.
Step 8. Cover the sandbox
Covering the sandbox when it’s not in use keeps the sand clean and dry. Plastic tarps make quick and inexpensive covers, keep debris out, and prevent your sandbox from being used as a litter box by roaming cats or other animals.
Such tarps are also quick to take off when it’s time for play. Alternatively, use a screen as a cover, so that sunshine can enter and act as a disinfectant.
Sandboxes are a lot of fun for little kids. However, cleaning them is not as fun as playing in them. One of the things that you will have to deal with when it comes to sandboxes is wet sand. If you don’t want to go through the hassle of drying a lot of sand, we have a guide to keeping water out of your sandbox that you can follow.
Why Do I Need a Bottom for My Sandbox?
You don’t actually need a bottom for your sandbox, but without one, the frame could warp or be pulled apart over time. A floor will add more support to the frame and help keep sand clean. Be sure, however, to select a pressure-treated wood to guard against damp, warping, and rot over time.
- Landscape fabric: allows water to drain through, but may not be strong enough to move.
- Regular plywood: allows movement, but may rot and does not drain.
- Redwood plywood: although I cannot confirm, it may be more resistant to rot.
The fabric should not be pulled too tight against the frame as the weight of the sand and children will cause it to tear if there is not enough give. Also, some suggest using plastic as the bottom for a sandbox. However, a sandbox can quickly turn into a mud hole when the plastic bottom traps water inside it.
Conclusion
Building a sandbox on your own is a much simpler task than what you initially thought. With little or no woodworking experience, you can easily build your backyard sandbox, as long as you have the correct tools and materials and a guide to follow.
Since you will have free reign on the design and build of your sandbox, let your imagination run wild, and create your sandbox according to your taste. For instance, you could add a roof, a bench, build it as a large boat or a pirate ship – the possibilities are endless!