Retaining walls hold back soil, but water pressure—not soil alone—is what causes most wall failures. Proper drainage is more important than the wall material itself.
Landscape fabric is recommended behind a retaining wall, but it does not reinforce the structure. Its main purpose is to separate soil from drainage gravel and prevent clogging of the drainage system.
Here’s what you actually need behind a retaining wall and how to install it correctly.
Do You Need Landscape Fabric Behind a Retaining Wall?
Yes—but only as part of a proper drainage system.
Landscape fabric serves three main purposes:
- Separates soil from gravel backfill
- Prevents fine soil particles from clogging drainage stone
- Helps maintain long-term drainage efficiency
It does not provide structural strength. The wall’s strength comes from proper footing, base preparation, and backfill design.
What Should Be Behind a Retaining Wall?
A properly built retaining wall includes:
- Compacted base (gravel or crushed stone)
- Drainage gravel (typically 12–24 inches behind wall)
- Perforated drain pipe at the base
- Landscape fabric separating soil from gravel
The gravel allows water to drain downward. The drain pipe carries water away from the wall. The fabric prevents soil from washing into the gravel.
How to Install Landscape Fabric Behind a Retaining Wall
Important: This should be done during wall construction—not after the wall is built. Digging behind an existing retaining wall can destabilize it.
Step 1: Prepare the Base
- Excavate to proper depth.
- Install compacted gravel base.
Step 2: Install Drainage Pipe
- Place perforated drain pipe at the bottom behind the wall.
- Ensure it slopes away for drainage.
Step 3: Add Drainage Gravel
- Place 12–24 inches of clean crushed stone behind the wall.
Step 4: Install Landscape Fabric
- Lay fabric between the native soil and drainage gravel.
- Overlap seams by at least 6 inches.
- Avoid wrapping fabric tightly around the gravel core.
The fabric should act as a vertical separation layer between soil and gravel.
Step 5: Backfill Gradually
- Backfill in layers.
- Compact gently in lifts to reduce settling.
Common Retaining Wall Failures
Most retaining wall problems are caused by water buildup and poor drainage.
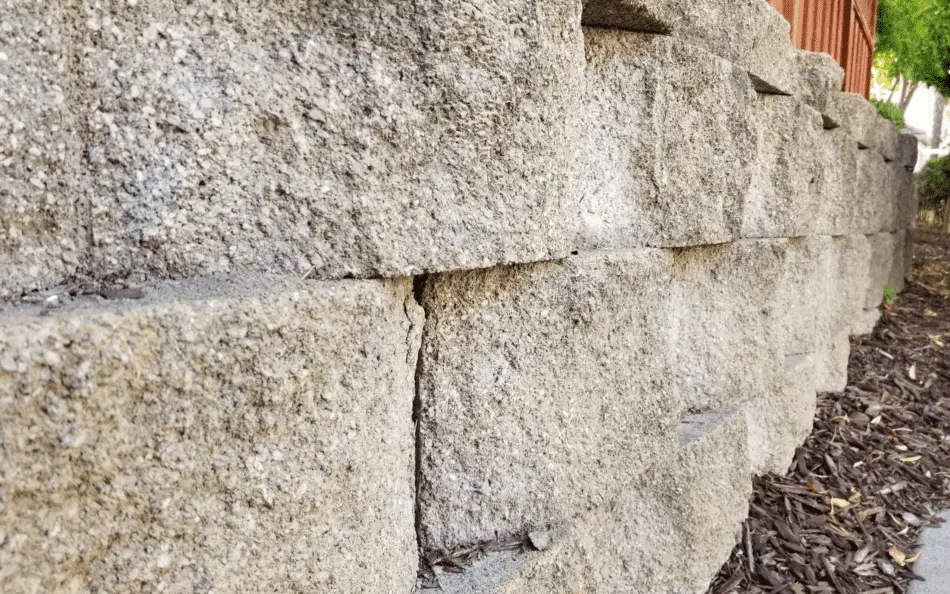
1. Blowout or Bulging
Occurs when hydrostatic pressure pushes the wall outward.
Prevention: Proper drainage gravel and drain pipe installation.
2. Frost Heave
In cold climates, trapped water freezes and expands.
Prevention: Install base below frost depth and ensure drainage.
3. Wet Soil Failure
Saturated soil becomes heavy and unstable.
Prevention: Replace soil behind wall with gravel and install drainage pipe.
Types of Retaining Walls
Concrete Walls
- Highly durable
- Best for taller walls
- Requires professional installation
Interlocking Concrete Blocks
- DIY-friendly
- Engineered locking system
- Still requires proper drainage
Timber Walls
- More affordable
- Limited lifespan
- Best for lower heights (under 4 feet)
Natural Stone
- Aesthetic appeal
- Requires skilled stacking
- Drainage still essential
Is Landscape Fabric Enough by Itself?
No.
Landscape fabric without gravel and drainage pipe will not prevent failure. The critical element behind any retaining wall is water management—not weed control.
Final Thoughts
Landscape fabric is recommended behind a retaining wall, but only as part of a complete drainage system. It separates soil from gravel and helps maintain long-term drainage performance.
The real key to retaining wall longevity is proper base preparation, gravel backfill, and water diversion. Without drainage, even the strongest wall materials can fail.