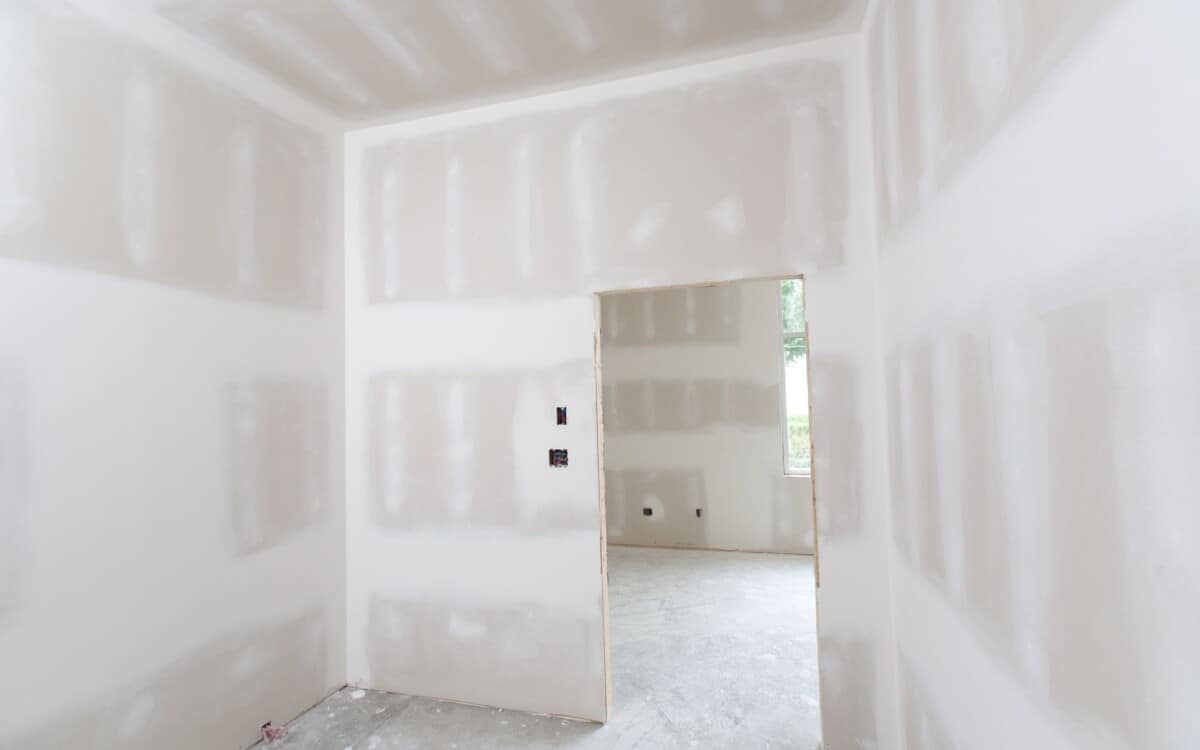
If you’re familiar with drywall muddling, you’ll agree that it offers a host of amazing benefits. One of its advantages is that it provides you with the ease to sand your drywall. Apart from that, mudding is also perfect for filling holes in existing drywall.
If you didn’t already know, drywall mudding is one of the most challenging aspects of drywall installation. When done correctly, you’ll get a smooth, flat wall with its seams blended into it. However, if the mudding goes bad, it becomes pretty easy for observers to notice the drywall seams.
If you end up with a poor drywall mud job, you should probably fix it. But, how do you go about doing that without entirely re-doing the job? In this post, we’ll share everything you need to know about how to fix a bad drywall mud job. However, before diving straight into that, let’s look at some of the signs of a defective drywall mud job.
Signs of a Bad Drywall Mud Job
Before going ahead with the signs of a poor drywall mud job, here’s a burning question: Does drywall mud job go bad? The quick response to the question is: Yes, it does.
Drywall mud, also called drywall joint compound, is a gypsum-based paste used to strengthen and smooth “drywall” and “drywall joints.” This substance contains organic materials, which may decompose over time.
If you’re doing it yourself, you need to learn the basics of applying mud to cover the drywall seams properly. Without the proper knowledge, you might end up performing a bad drywall mud job.
Signs
One of the signs of a bad drywall mud job is achieving visible joints or seams on the walls. You’ll surely agree with the fact that drywall installation requires using different panels to put up walls.
If the drywall is perfectly done, you won’t notice any joints around the walls. However, if you can spot a joint or seam, it means you have come across a bad drywall job.
Furthermore, you should understand that drywall seams might start showing off after years of fixing the walls. That is especially possible if your house is settling. That’s not all, using mesh tape can also cause the drywall seams or joints to become more visible. That’s why most installers opt for a much stronger tape, such as paper tape.
Another sign of a bad drywall mud job is when you have uneven corners or a few minor ridges in the walls of your living room. The best option, in this case, is to fix it up by implementing the few simple and straightforward steps shared below. However, it’s worth noting that having a few minor ridges in the walls of your garage might not indicate a bad or low-quality drywall mud job.
Furthermore, if you can still spot nail and screw holes after the drywall mud job, it means the mudding process is of low quality, and you need to fix it. Besides, a sagging ceiling is also a sign of a bad drywall job that you need to find solutions for.
That said, what happens when you encounter a poor drywall mud job? The next section of this post will guide you on how to fix this issue.
Step-by-step Guide on How to Fix a Bad Drywall Mud Job (DIY)
If you have come across defective drywall mud, you must understand that it could happen to anybody, especially if the building is constructed on a fill-dirt. However, you need not worry too much about it as there’s always a way around fixing it.
You can follow these few simple and straightforward steps to fix your poor drywall mud job:
- Materials required
Before proceeding to fix the low-quality drywall mud around your home, you need to get the proper material to get the job done. Some of the items needed for the process include:
- A 14-inch arc welded stainless steel mud pan – check here (Amazon)
- A 10-inch blue steel drywall taping knife – check here (Amazon)
- A medium or fine sanding sponge
- A 3 lbs. pouch of 5 min easy sand joint compound – check here (Amazon)
- A can of spray texture
- A 5-inch carbon steel drywall flex joint knife (optional) – check here. (Amazon)
One of the benefits of the 5-inch joint knife is that it’s versatile and can perform several functions. First, you can use it for scrapping nail pops on the wall. You can also utilize the knife for taping and cleaning your mud pan.
Besides, this product can be useful to clean other blades and even mix inside your mud pan. Moreover, the hammer end on most 5-inch joint knives is handy enough for you to hammer small bumps into your drywall.
- Sand your drywall knives and mud pan
After acquiring the required materials, the next thing to do is sand your drywall knives. The purpose of this step is to create abrasions in the metal. Doing so will allow the bad drywall to grip the mud, preventing ripples when applying it to your drywall. Also, ensure to repeat the process and create more abrasions for your mud pan.
- Protect the floor and yourself from mud splatter
After sanding your drywall knives, you must protect yourself and the floor from drywall mud splatter. For that, all you need to do is cover the floor using a canvas drop cloth. Furthermore, protect yourself by wearing goggles and old clothes.
- Mixing the sand product
The next step requires that you thoroughly mix the sand product inside the mud pan. To do that, you need to add some water to your mud pan. After that, pour in the easy sand product slowly and stir continuously using the 5-inch joint knife. Keep doing that until you get the desired result — a lump-free mixture. Furthermore, since the easy sand product can harden shortly, I’ll advise that you mix it up quickly.
- Start fixing the bad area on the drywall
After thoroughly mixing the sand product and making sure that it’s free of lumps, you may start fixing the affected area. For this stage, you need to pick up your 10-inch blue steel drywall taping knife. Grab the knife with your index touching the blade while the other fingers hold on tight to the handle.
After that, all you have to do is carry a load of mixed sand (mud) and apply it to the affected area. However, doing that is a bit tricky. It would be best to place your blade right above the center of the affected area. After that, pull the blade down to achieve a rectangle of mud on the drywall. Next, cut the edges so you can have a better chance of sanding.
- Use the 5-inch knife to scrape and smooth the area
After applying the mud to the affected area on the drywall, the next thing to do is correct all the imperfections if you can. To do that, pick up your 5-inch knife and scrape the area from top to bottom. However, wait about 10 minutes for the patch to harden before scraping it.
Then, add a skim of coat to the triangle and ensure you cover the first coating with some outline showing (1-inch). Check whether or not the new layer is smooth and good. After that, wait another 10 minutes for the new patch to harden, after which you will have to sand the edges with your sanding block.
- Sanding & spraying
Once the patches are dry, sand the rectangle edges using the sanding block. Then, make sure you run the sanding sponge on the dried patch of mud — do it lightly.
Next, try and pick up your can of spray texture and apply it lightly, positioning it about a foot away from the drywall. After that, all you have to do is paint the drywall. However, you’ll have to wait for the spray texture to harden before applying paint.
You should ensure that the steps above are perfectly executed when a small part of your drywall is affected. You can also repeat the process for large areas. All you need is to do then is apply the mixed sand (mud) on every side. After that, wait for the first layer to dry, then apply the second and third coating in the same manner, following the same steps highlighted above.


